Android 11 for TechNexion EDM i.MX8MP
Android 11 for TechNexion EDM i.MX8M Plus
Introduction
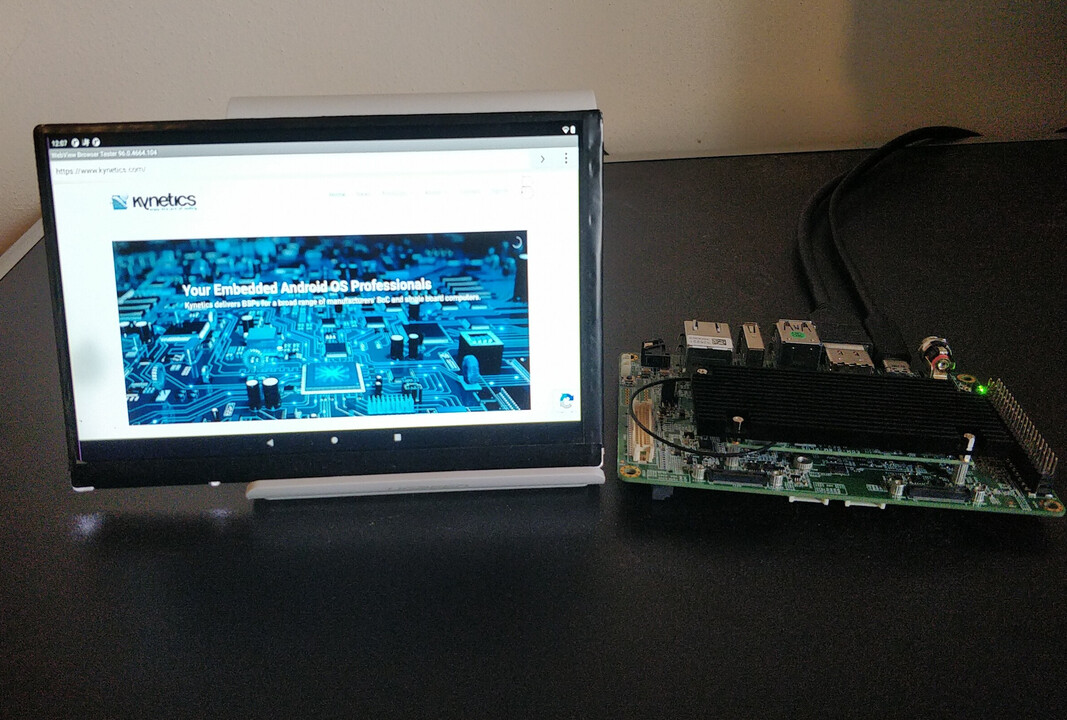
The TechNexion EDM iMX8M Plus is a small form-factor System on Module based on the NXP i.MX8M Plus SoC.
Kynetics has built an Android 11 image for the TechNexion EDM i.MX8M Plus, compatible with the Wandboard WB-EDM-G Carrier Board. The setup is available as Wandboard EDM started kit.
Release Notes
Here are some important notes about our build:
- Android 11, U-Boot 2020.04, Linux Kernel 5.4
- Based on NXP release: android-11.0.0_1.2.0
- Compatible with the TechNexion EDM i.MX8M Plus SOM and Wandboard WB-EDM-G Carrier board
- Compatible with any HDMI display using the HDMI port on the Wandboard EDM carrier board
- Userdebug build with permissive SELinux and disabled DM-Verity
- Application updates can be deployed using Update Factory: learn more about our Android client for Update Factory.
- This is an unsupported release. For commercial support please contact us.
The build includes the following Kynetics applications:
- Update Factory
- Serial TTY handler
- GPIO handler
- PWM handler
- SPI handler
- CAN bus handler
Flash Instructions
The following steps will guide you through the installation of Android 11 on the TechNexion EDM i.MX8M Plus.
Hardware Requirements
- TechNexion i.MX8M Plus SOM and Wandboard WB-EDM-G Carrier board
- SOM with wifi and bluetooth support, 4GB of RAM
- A host computer running GNU/Linux
- A USB-A to USB-C cable - to connect the host computer and the i.MX8M Plus board
Software Requirements
- Kynetics Android 11 archive, downloadable here
- Android platform tools installed on the host computer - Optional for debugging
Installation procedure
- Unpack the Kynetics Android 11 archive in a folder on the host PC
- Set the SW1 switch to ON on the Wandboard EDM board
- Connect the USB-A to USB-C cable from the host pc to the USBC1 USB-C port on the Wandboard board
- Connect a 12V power adapter to the DCIN port
- From the host pc, run this command to flash Android
On Linux:
$ sudo ./uuu_imx_android_flash.sh -f imx8mp -a -e -c 28 -D .
$ uuu_imx_android_flash.bat -f imx8mp -a -e -c 28
Wait for the DONE message. Android is now installed on the device.
- Remove both the power adapter and the USB-C cable from the board.
- Set the SW1 switch to the 1 position.
- Connect a 12V power adapter to the DCIN port and Android will start.
Hardware support
The following peripherals have been validated on the TechNexion EDM iMX8MP SOM and Wandboard EDM carrier board:
- USB-C port (USBC1 connector) for ADB usage
- Serial port (CONSOLE1 connector) for the Android serial console
- HDMI port (HDMI1 connector) using a FullHD (1920x1080) display
- audio through HDMI is supported
- By default, audio is routed to the 3.5mm jack. To enable audio through HDMI:
$ adb shell setprop persist.audio.hdmi_out 1
$ adb reboot
- Wifi connectivty
- both 2.4Ghz and 5GHz networks are supported
- Bluetooth connectivity
- both Bluetooth and Bluetooth Low Energy devices are supported
- Ethernet connectivty up to 1gbit/s (LAN1 port)
- Audio from the 3.5mm jack audio (AUDIO1 connector)
- USB ports USBH1 and USB1
- USB mouses, USB keyboads and USB Drives (FAT32) are supported
- GPIOs, PWMs, CAN bus and serial ports - see the Software support section
Software support
Kynetics includes in this image different applications to help your evaluation. In particular these apps help with testing and managing common peripherals from Android userspace. The example application sources are available on Kynetics Github
The Android libraries used by these apps are not public and they can be purchased to be used in your own code, contact us for more details.
- Update Factory
- The Kynetics artifact content and software update delivery platform. Contact us for more information.
- GPIO handler:
- the GPIO handler application to test the GPIO functionality.
- On the TechNexion kit: on connector VH1 the PIN 22 is available. It can be exported as GPIO 102 on Android and it can be configured using the GPIO handler application.
- TTY Serial handler:
- the Serial handler application. It is possible to read and write on the serial ports available as /dev/ttymxcX.
- On the TechNexion kit: on connector VH1, PIN 8 and 10 are available as UART_C_TX and UART_C_RX and the serial port is available as /dev/ttymxc2 on Android: using the TTY Serial handler application, it is possible to read and write on this serial port.
- PWM handler
- the PWM handler application to test the PWM functionality.
- On the TechNexion kit: on connector VH1, PIN 11 is available as PWM4. On Android, using the PWM test application, this is the PWM0 on PWM CHIP 2.
- SPI handler
- the SPI handler application to test the SPI functionality.
- On the TechNexion kit: the /dev/spidev0.0 device is available to test. The SPI bus is available on connector VH1 on PINs 19, 21, 23, 24 and it can be configured using the SPI handler application.
- CAN bus handler
- the CAN handler application to test the CAN bus functionality.
- On the TechNexion kit: on connector VH1, PINs 16 and 18 are available as CAN1_TX and CAN1_RX. After bringing up the interface with the ip command, it is possible to send and receive messages with the CAN test application on Android. To bring up the interface before using the Kynetics CAN test application, from an adb root shell:
$ ip link set can0 type can bitrate 125000
$ ip link set can0 up
More applications are available on Kynetics Github.
Enjoy the Art of Coding©